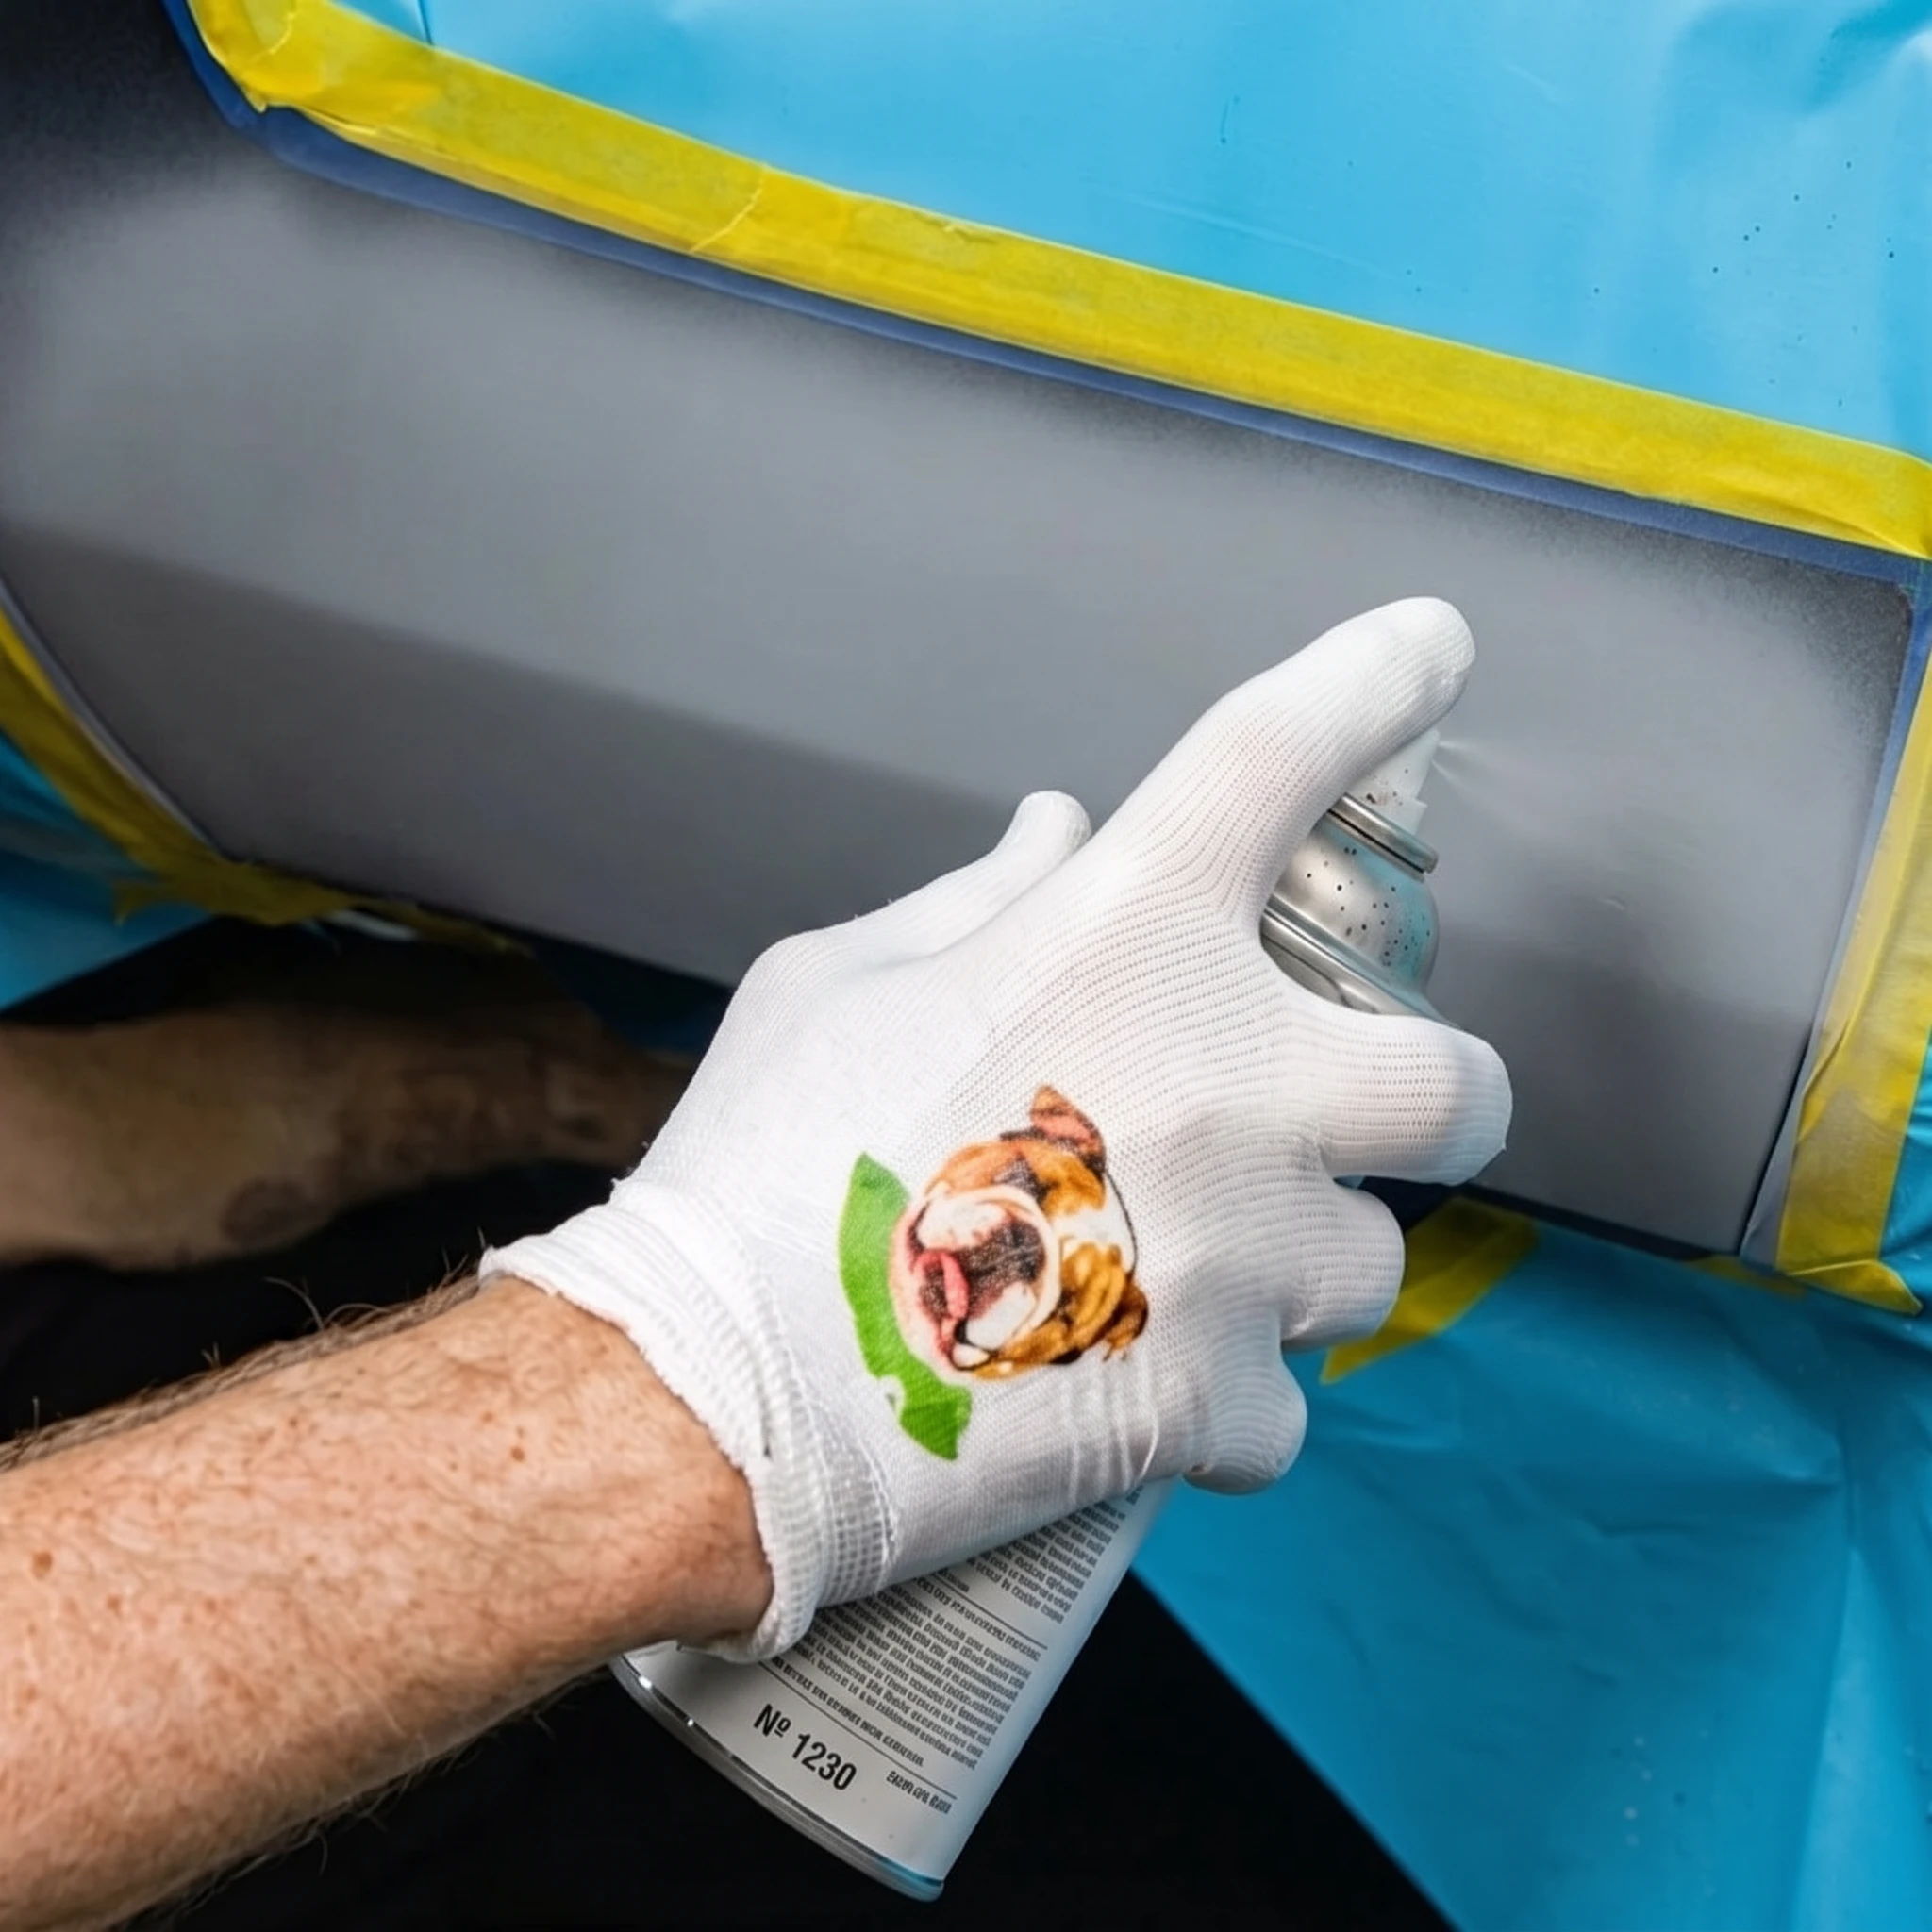
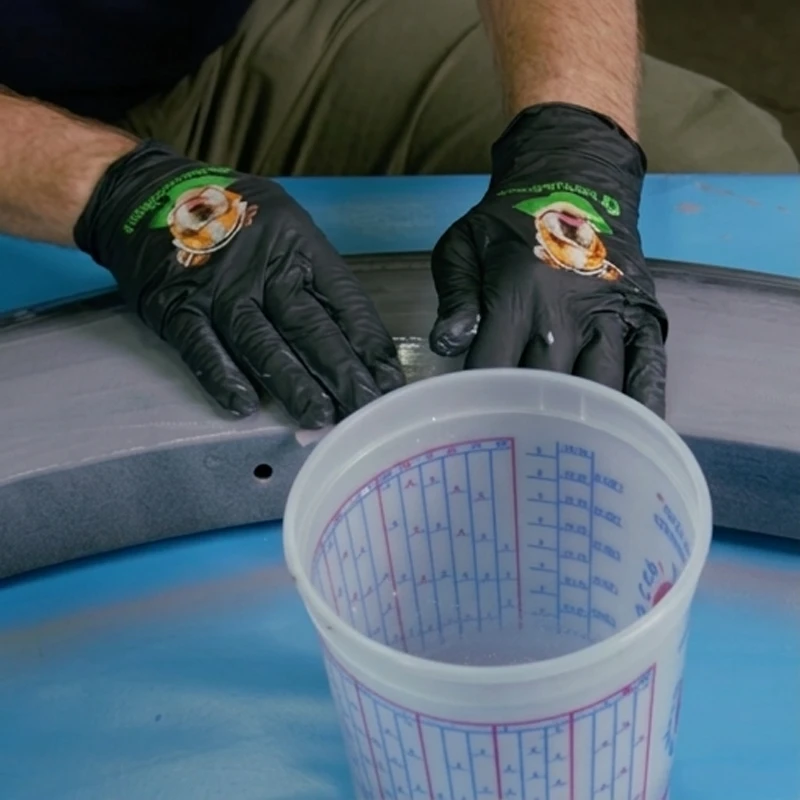
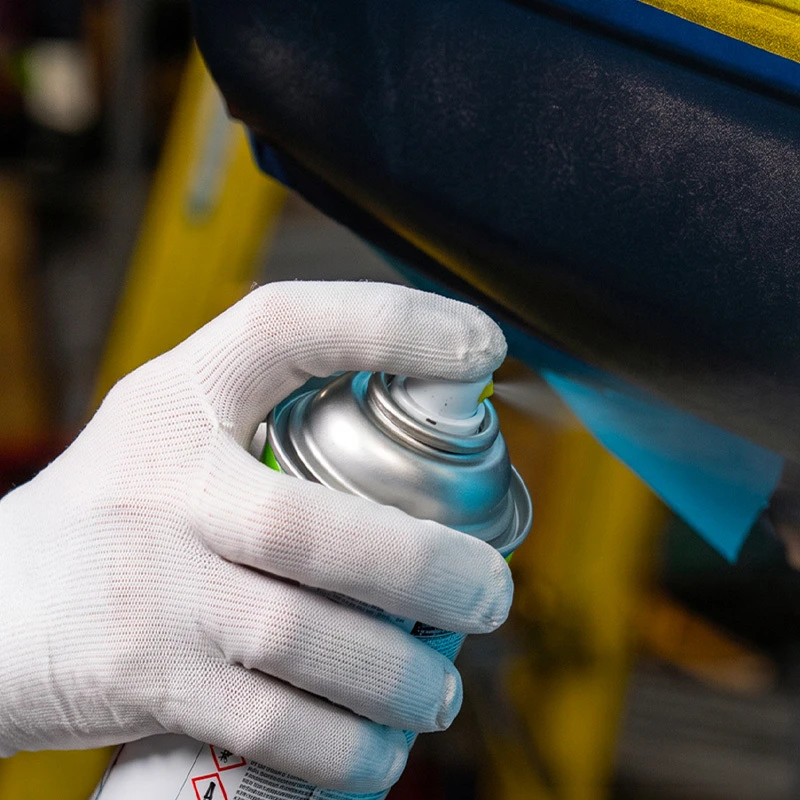
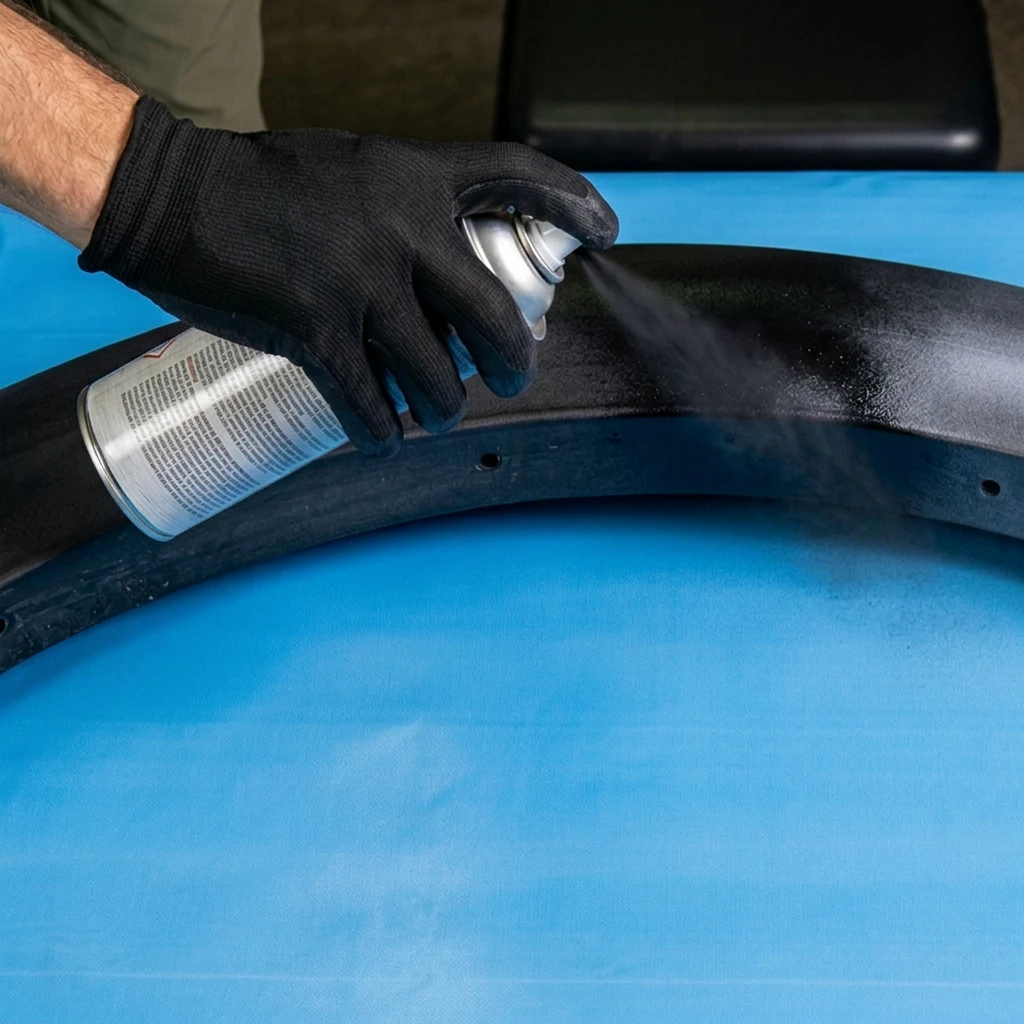
Hand holding an automotive aerosol touch up paint can

Aerosol Spray Can for Automotive Paint Repairs

Why Choose an Aerosol Spray?

Professional Coverage for Large Areas

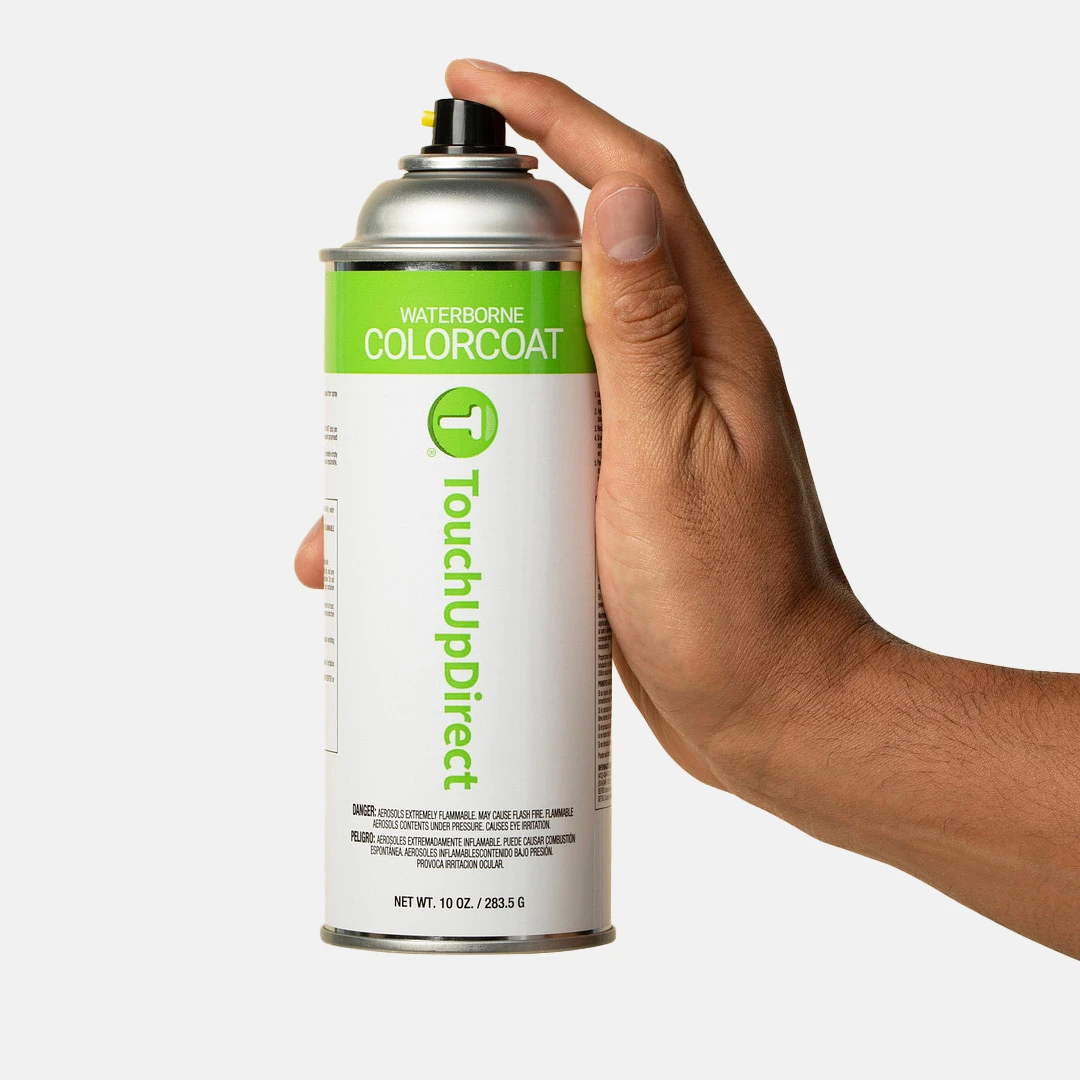
Hand holding a TouchUpDirect automotive colorcoat aerosol can

What's Included in Aerosol Spray Can Kits?

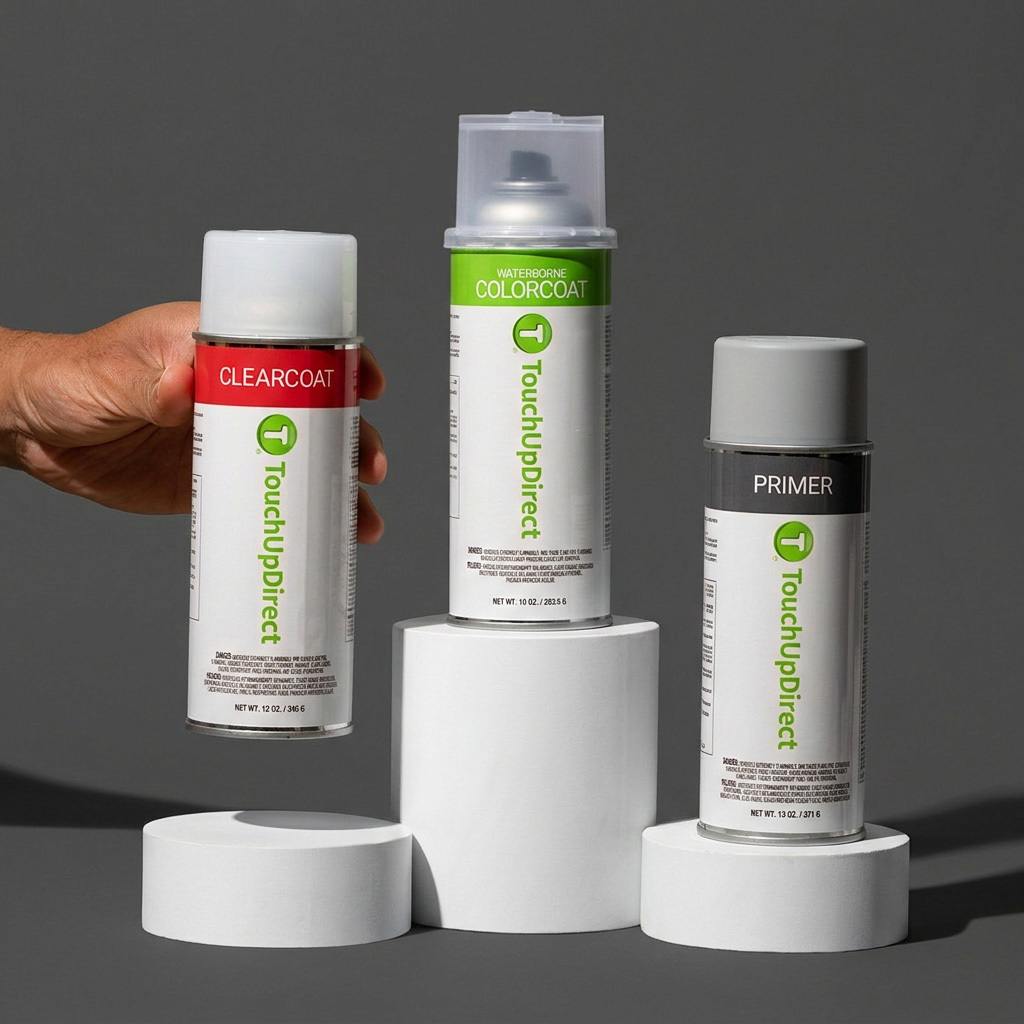
TouchUpDirect offers three aerosol spray can kit levels depending on your repair needs. Every kit includes both colorcoat and clearcoat aerosol cans - you get two complete spray cans in each kit.

Rating: 4.9

Essential Aerosol Kit

Starting at $65

Best for: repainting parts and surface scratches

  • Colorcoat Aerosol (10 oz) – OEM-matched to your paint code
  • Clearcoat Aerosol (10 oz) – UV-resistant protective layer

Rating: 4.8

Preferred Aerosol Kit

Starting at $86

Best for: Complete repairs requiring primer and surface preparation

Includes everything in Essential Kit, plus:

  • Primer Aerosol (10 oz) – For bare metal/plastic
  • Wax & grease remover wipe

Rating: 4.8

Platinum Aerosol Kit

Starting at $113

Best for: Complete professional-grade repairs with finishing

Includes everything in Preferred Kit, plus:

  • Polishing Compound – For blending and final finish refinement
  • Sandpaper (400 & 800 grit) – For surface prep and wet sanding
  • Tack Cloth – For removing sanding dust before painting

How to Use an Aerosol Spray Can

Aerosol spray can application requires more preparation than pen or brush repairs but delivers the most professional results. Most large repairs take 1-2 hours of active work plus 48-72 hours cure time.
  1. Step 1: Clean The Damage Area

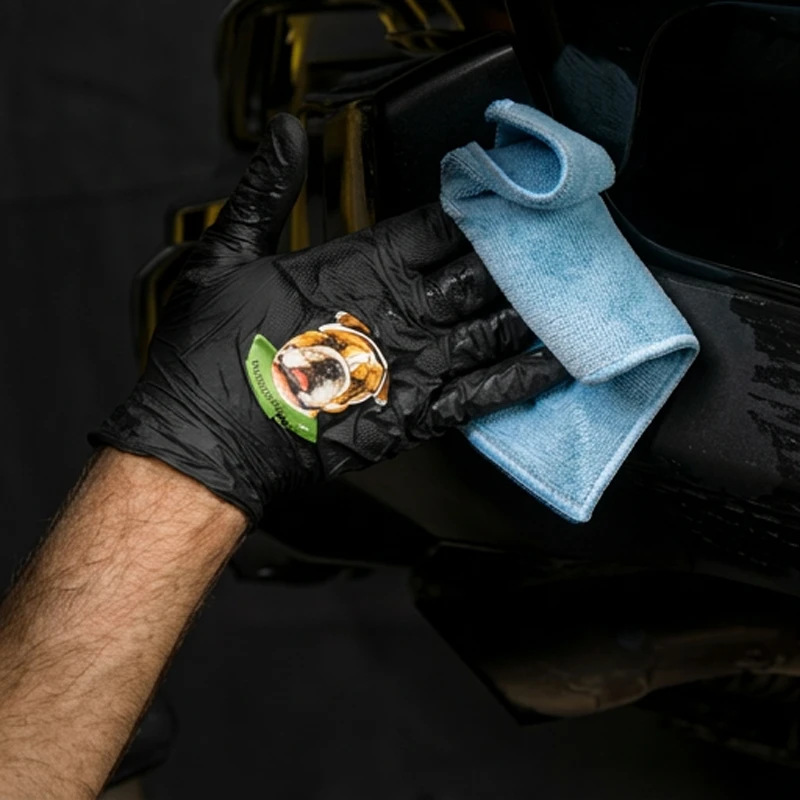
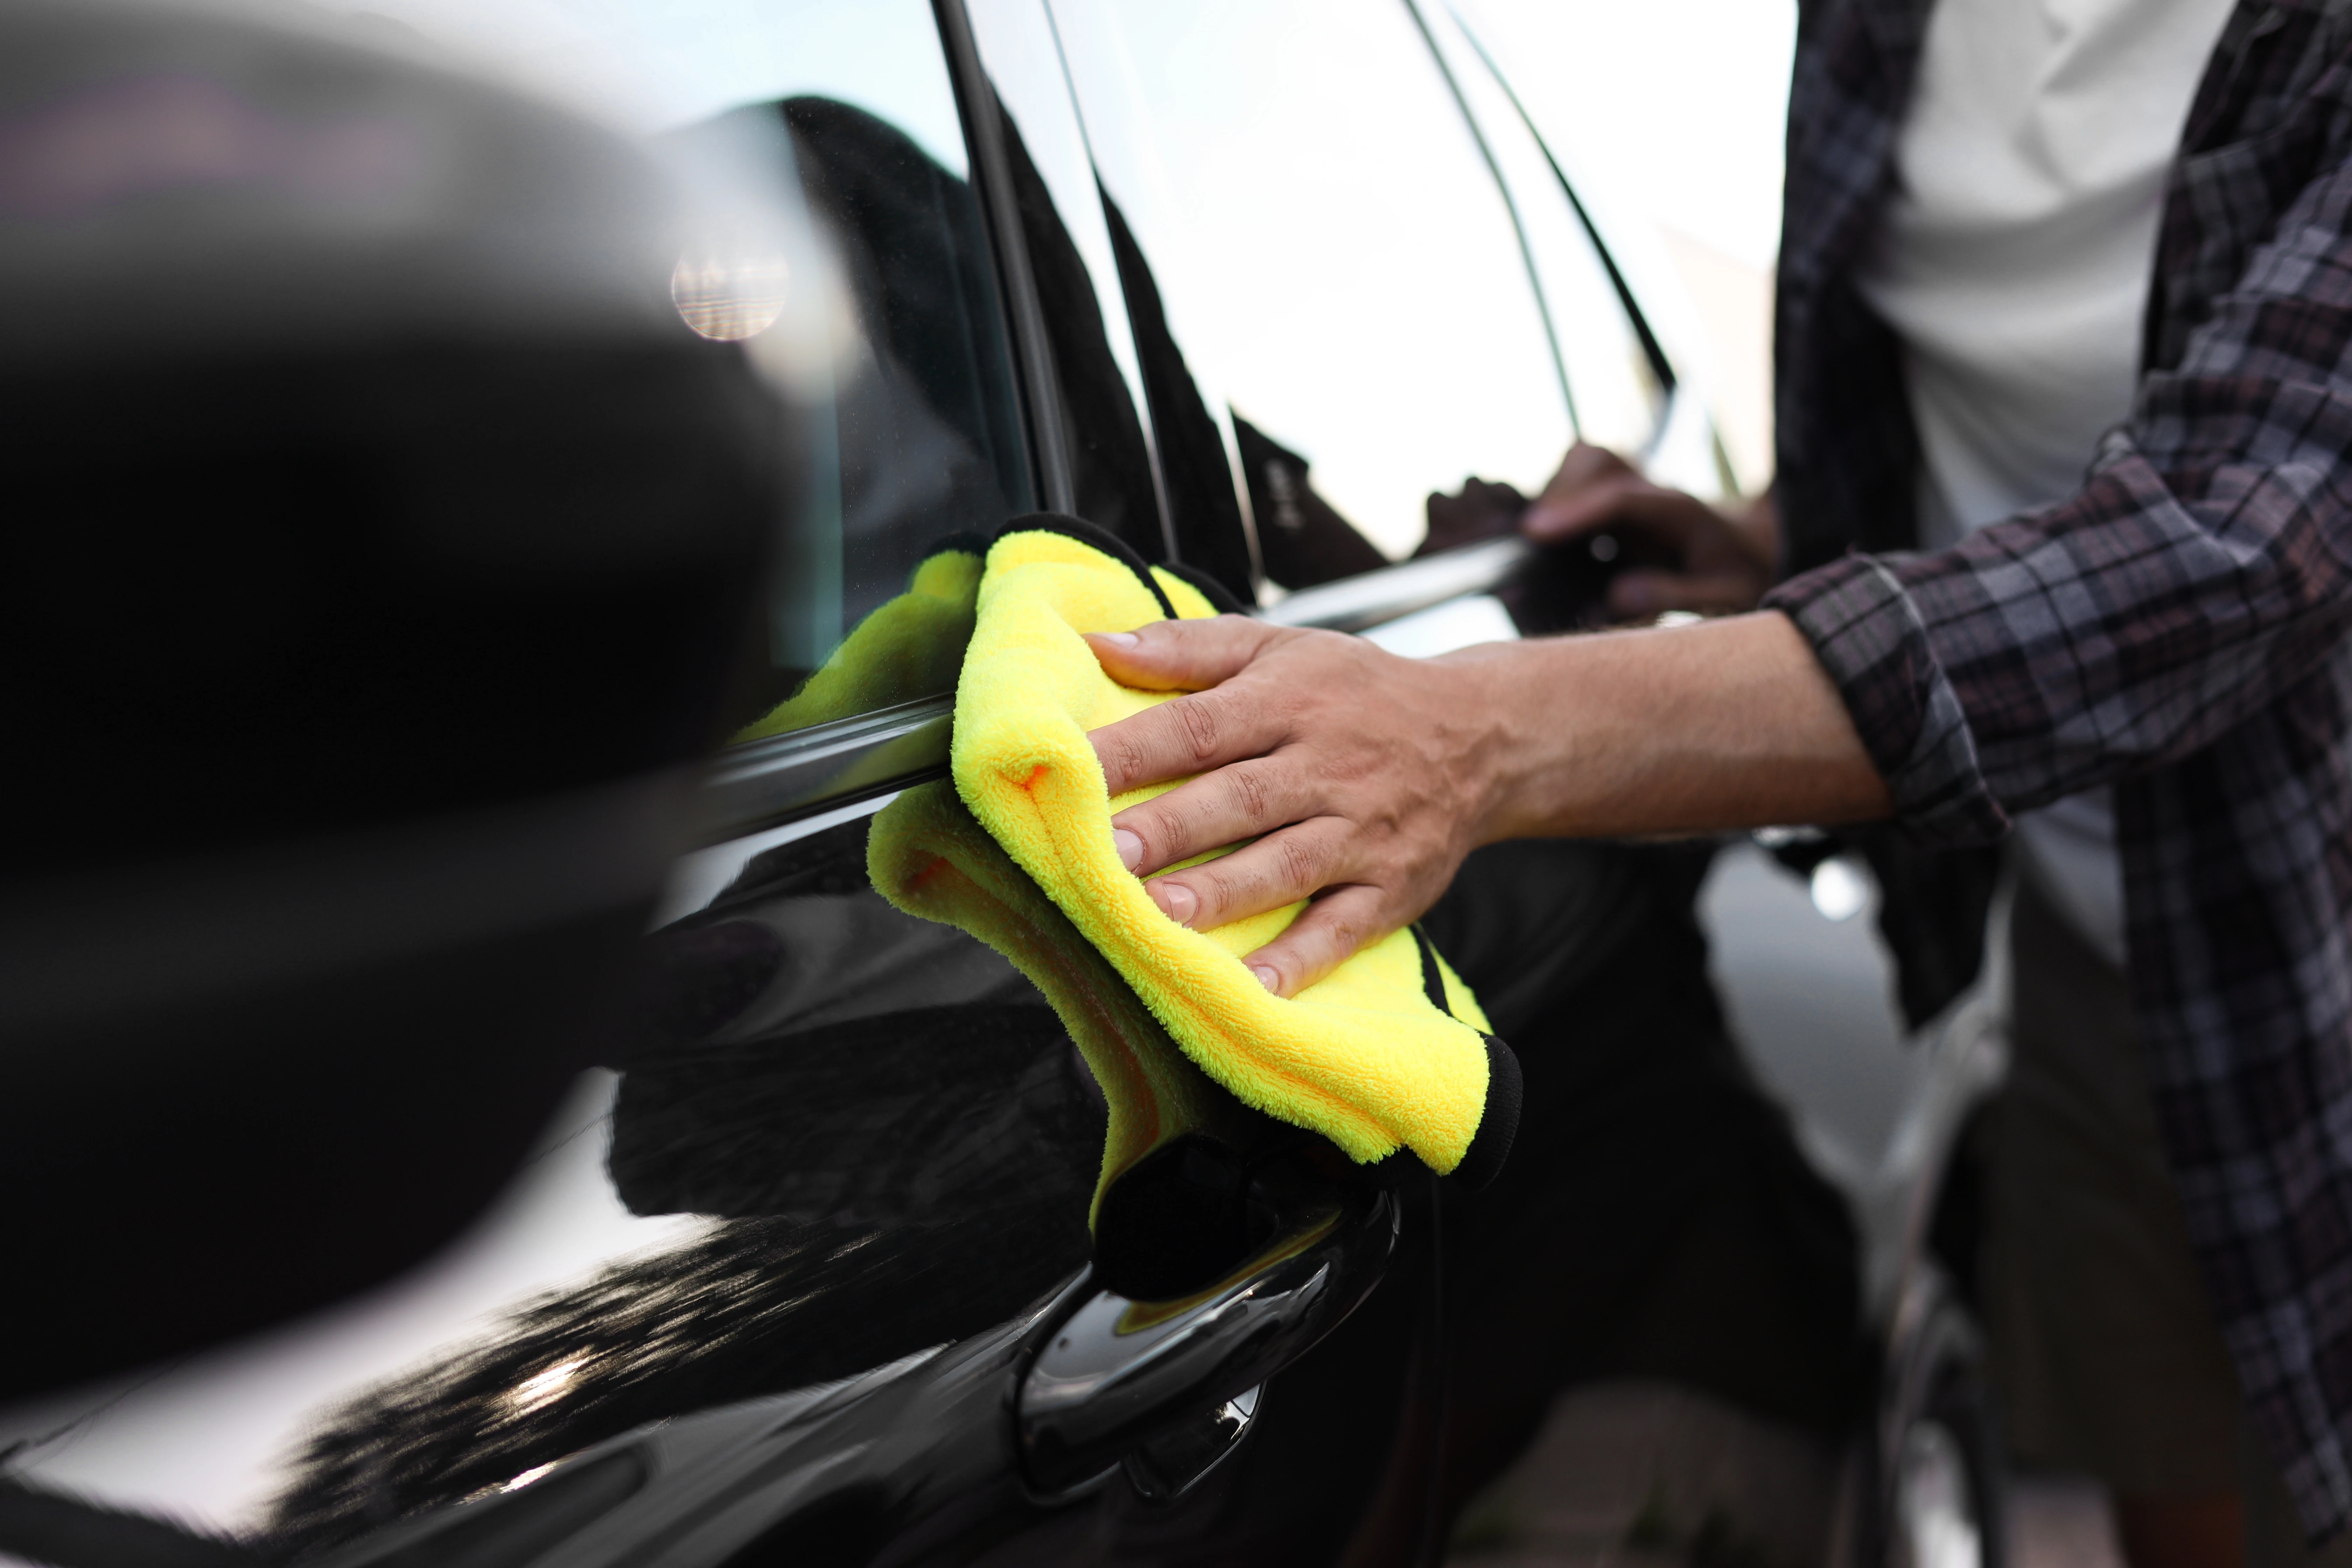
    Cleaning a vehicle panel with a microfiber cloth before applying touch up paint

    What You'll Need

    • TouchUpDirect Aerosol Kit (includes colorcoat and clearcoat spray cans)
    • 400 and 800-grit sandpaper (included in Platinum Kit)
    • Masking tape and paper or plastic sheeting
    • Wax & Grease Remover Wipe (included in Preferred and Platinum Kits)
    • Tack cloth (included in Platinum Kit)
    • Microfiber towels
    • Polishing compound (optional, included in Platinum Kit)
    Wash the entire panel with soap and water, then dry completely. The surface must be perfectly clean for paint to adhere properly.
  2. Step 2: Sand the Damaged Area (if the surface is uneven)

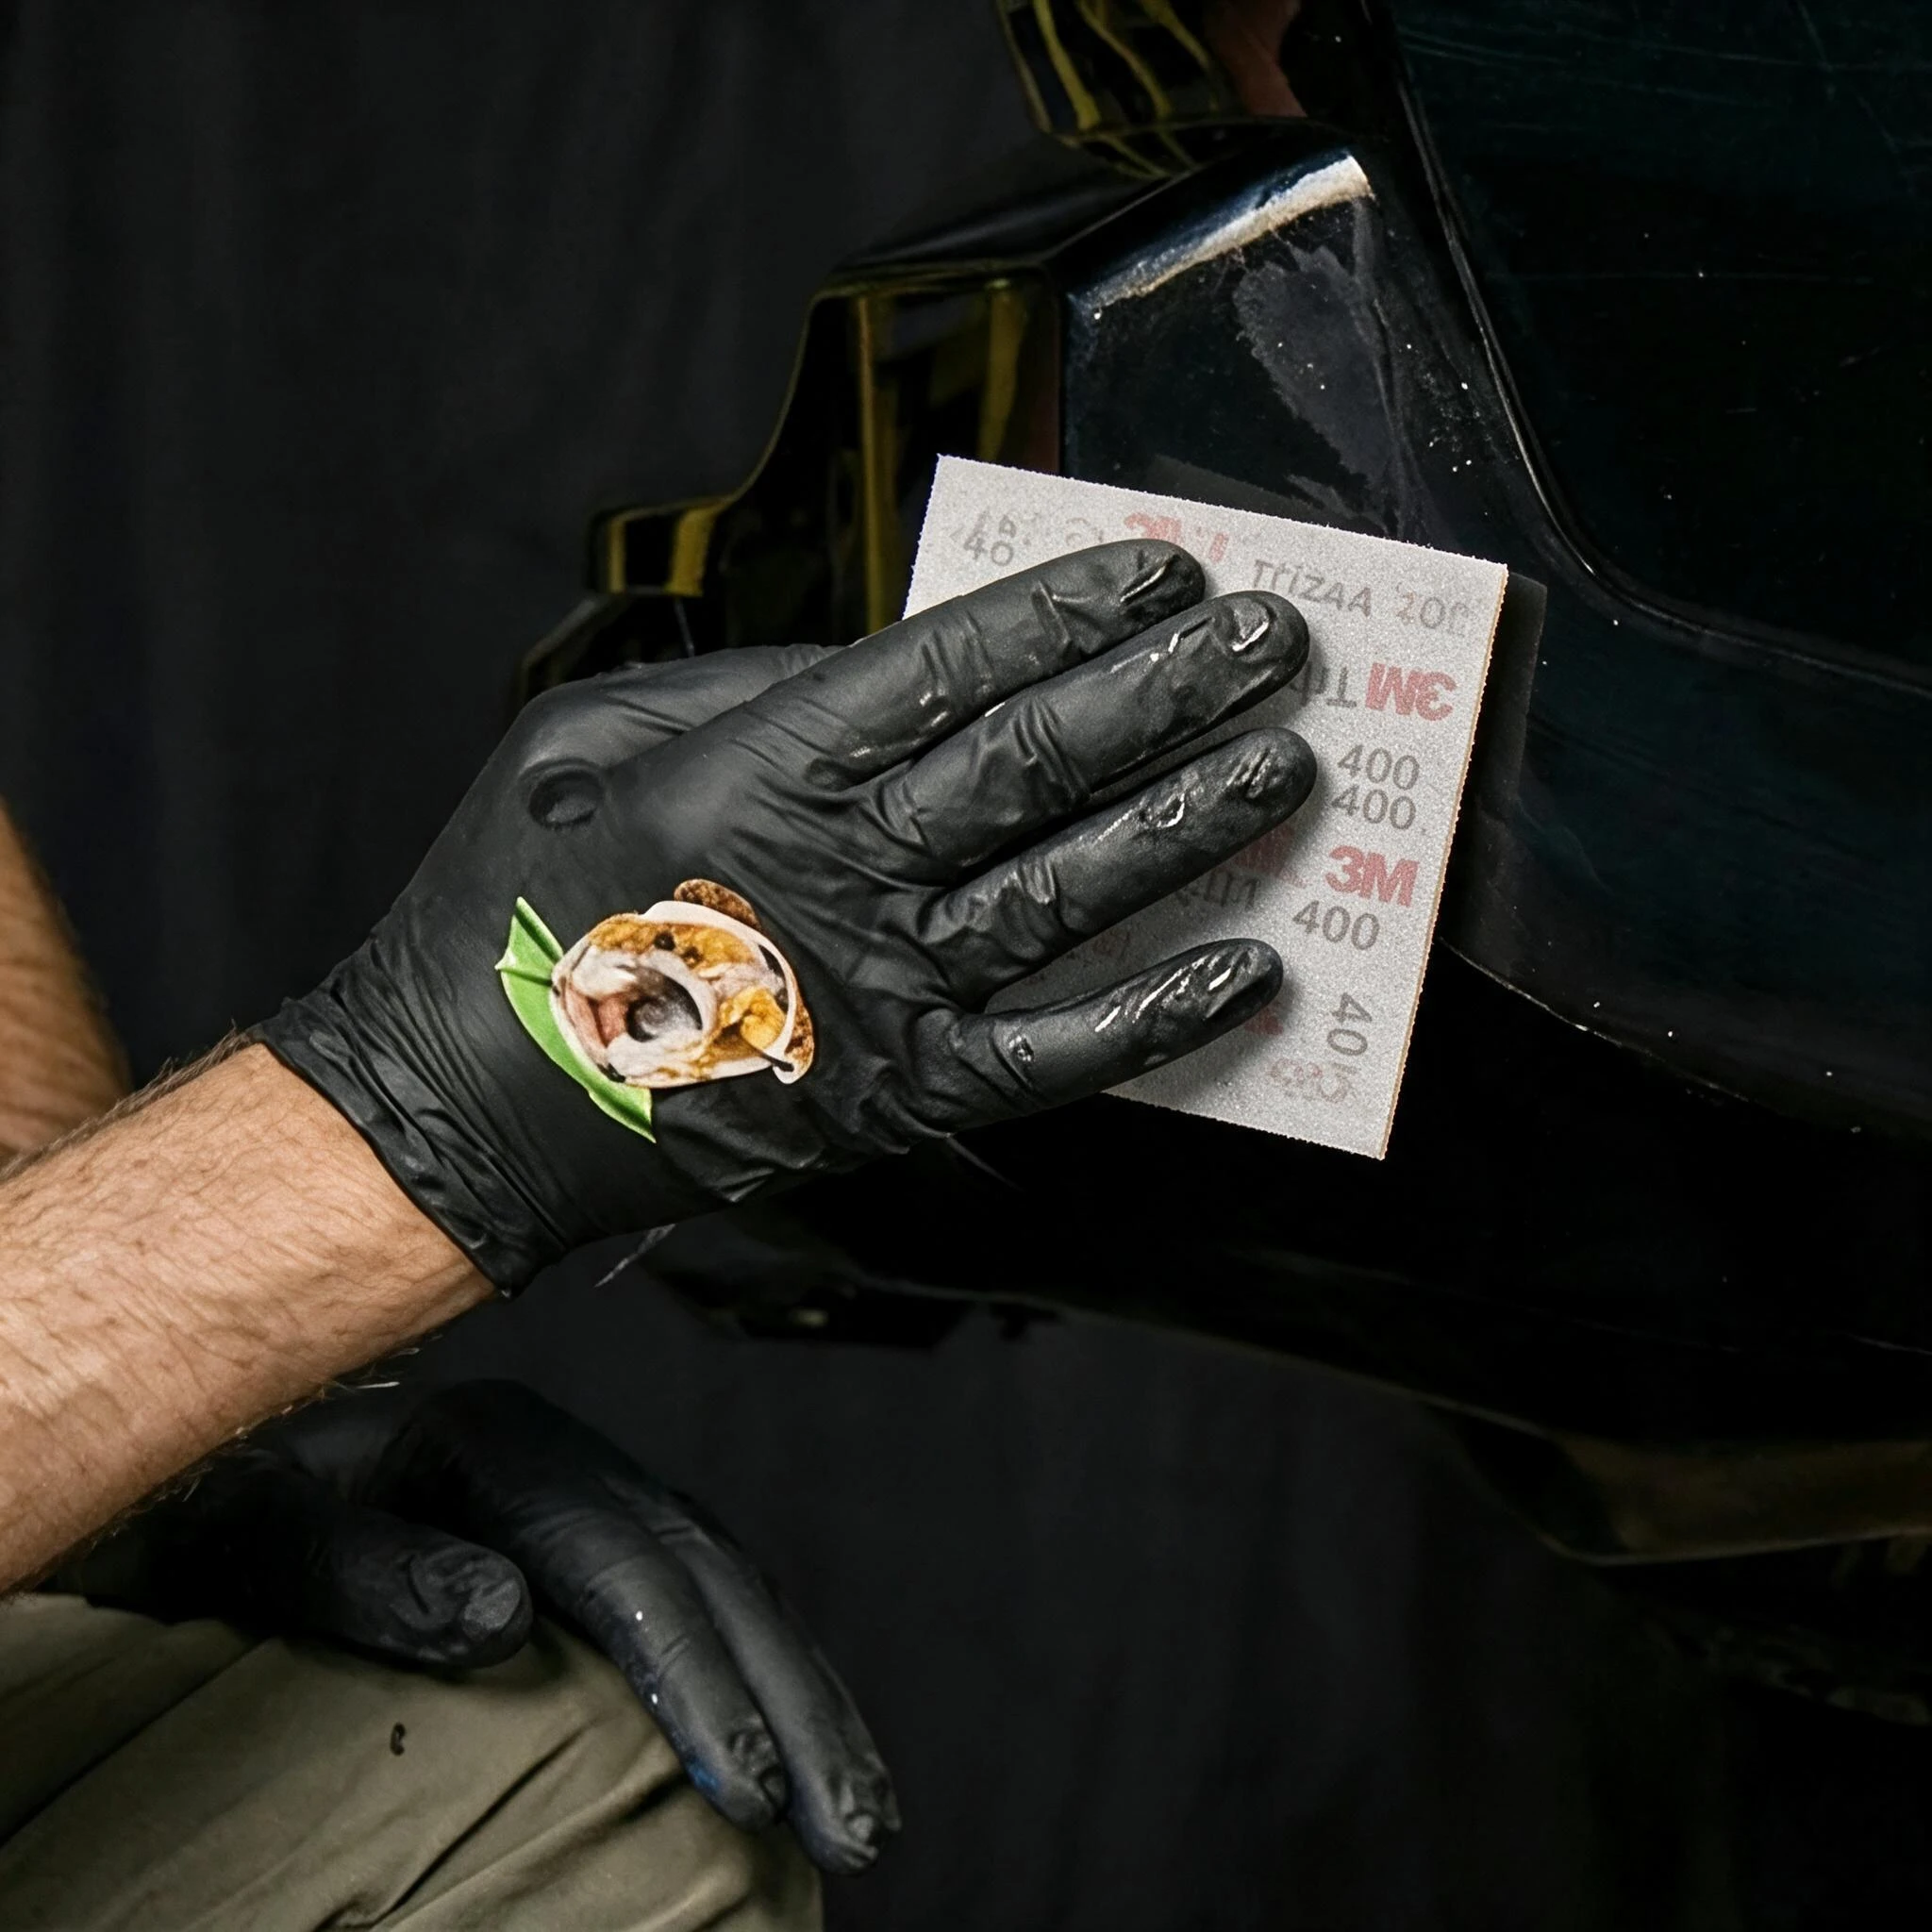
    Sanding a damaged vehicle panel with 400-grit sandpaper

    Pro tip:

    Wet sanding with 400-grit creates smoother results. Keep the surface and sandpaper wet while sanding.

    Use 400-grit sandpaper to sand the damaged area. Sand in circular motions until:

    • The damaged area feels smooth and level
    • Edges of good paint are feathered (gradual transition)
    • Surface has a dull, matte appearance (no shine)
  3. Step 3: Mask Surrounding Areas

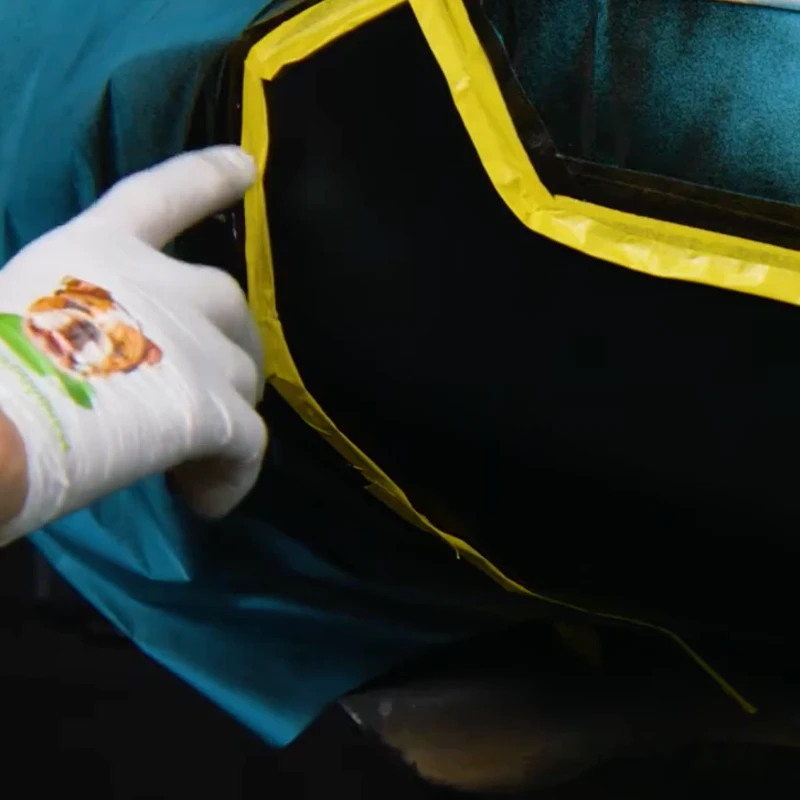
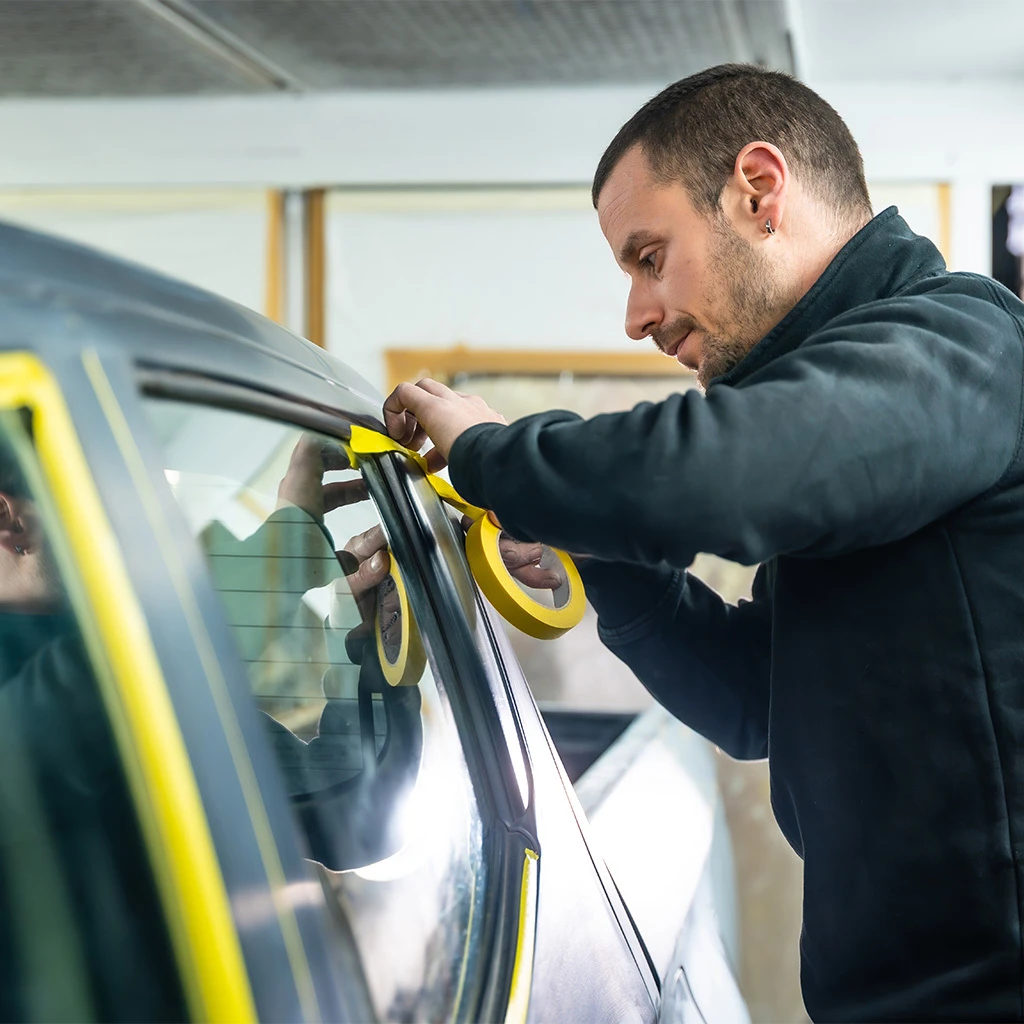
    Vehicle repair area protected with masking tape and masking paper before spraying

    Masking tip:

    Extend your masking 12-18 inches beyond the repair area for proper blending and overspray protection.

    Clean the area thoroughly, then dry completely — this step is critical, as paint won't adhere properly to a dirty or damp surface Use masking tape and paper to protect:

    • Adjacent panels and trim
    • Windows and lights
    • Chrome and badges
    • Rubber seals and weather stripping
  4. Step 4: Apply Primer (If Needed)

    Applying aerosol primer to a masked vehicle panel

    If the damage exposes bare metal or plastic, repainting an unprimed part, apply primer before colorcoat:

    • Shake primer can vigorously for 2 minutes (you should hear the mixing ball)
    • Hold can 8-12 inches from surface
    • Apply 2-3 light coats using smooth, sweeping motions
    • Overlap each pass by 50%
    • Wait 15-20 minutes between primer coats
    • Let final primer coat dry 30-60 minutes before sanding
  5. Step 5: Wet Sand Primer (Optional, Recommended)

    Wet sanding dried automotive primer on a vehicle panel

    For the smoothest finish, wet sand dried primer with 800-grit sandpaper:

    • Keep surface and sandpaper wet
    • Use light, circular motions
    • Sand until surface feels glass-smooth
    • Wipe clean with tack cloth and let dry completely
  6. Step 6: Shake Colorcoat Can & Test Spray

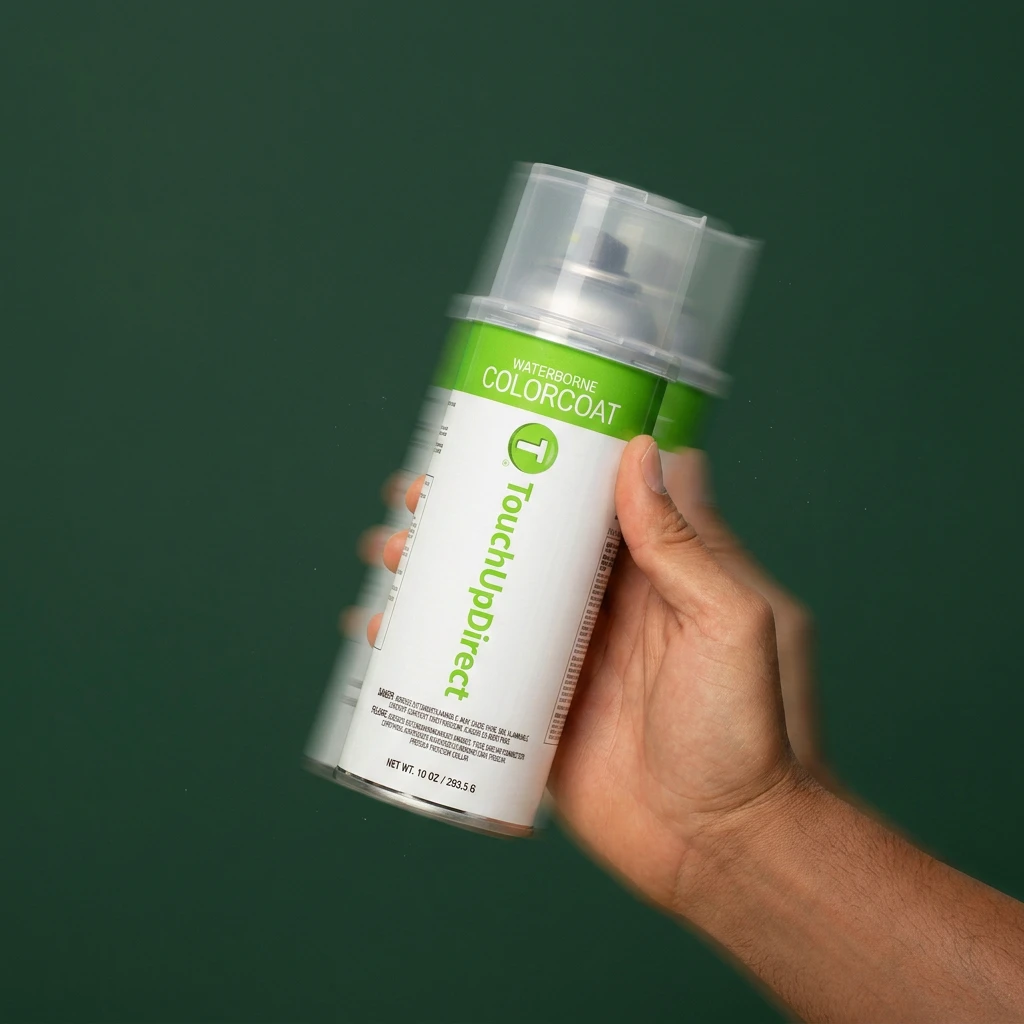
    Shaking a TouchUpDirect colorcoat aerosol can before use

    Shake colorcoat can vigorously for 2-3 minutes. Continue shaking longer than you think necessary—proper mixing is essential for metallic and pearl colors.

    Always test spray on cardboard before spraying your vehicle:

    • Hold can upright 8-12 inches from test surface
    • Practice smooth, sweeping motions
    • Check for even spray pattern (no sputtering or dripping)
  7. Step 7: Apply Colorcoat

    Applying aerosol colorcoat to a masked vehicle repair area

    Pro tip:

    For metallic and pearl colors, apply the final coat slightly wetter (closer to the surface) to help metallics lay flat for proper sparkle effect.

    Critical technique for best results:

    • Distance: Hold can 8-12 inches from surface (closer = runs, farther = dry/textured finish)
    • Motion: Use smooth, continuous sweeping passes (never stop moving mid-spray)
    • Overlap: Overlap each pass by 50% for even coverage
    • Start/Stop: Begin spray off the panel edge, sweep across, release trigger after passing the opposite edge
    • Build gradually: Apply 3-4 light coats instead of 1-2 heavy coats

    Applying light coats:

    • First coat should be very light (almost translucent)—this is the "tack coat" that provides adhesion
    • Second and third coats build color
    • Fourth coat (if needed) provides full coverage
    • Wait 15-20 minutes between each coat
  8. Step 8: Apply Clearcoat

    Applying aerosol clearcoat over a painted vehicle panel

    Pro tip:

    Apply clearcoat once the colorcoat is fully dry, and within 12 hours. The final clearcoat layer can be applied slightly heavier (closer to surface) to achieve deeper gloss—but watch carefully for runs.

    After your final colorcoat application, wait 30-60 minutes before applying clearcoat. The surface should be completely dry to the touch—test with a knuckle on a masked edge area.

    Shake clearcoat can for 2 minutes. Apply clearcoat using the same technique as colorcoat:
    • Hold can 8-12 inches from surface
    • Apply 3-4 light, even coats
    • Wait 15-20 minutes between coats
    • Apply clearcoat slightly wetter than colorcoat for maximum gloss
    • Extend clearcoat 2-3 inches beyond colorcoat edges for seamless blending

    Remove masking tape while clearcoat is still slightly tacky (within 30-60 minutes after final coat). Removing tape after full cure can pull paint edges or create a hard line.

  9. Step 9: Let Cure

    Freshly painted vehicle panel left to cure after aerosol paint application

    Allow 48-72 hours for complete cure before:

    • Washing the vehicle
    • Waxing or polishing
    • Parking outdoors in weather
    • Heavy use of the repaired panel
  10. Step 10: Wet Sand and Polish (Optional)

    Polishing a repaired vehicle panel with a microfiber towel

    For the absolute smoothest, most professional finish:

    • Wait full 48-72 hours for complete cure
    • Wet sand with 800-grit sandpaper using very light pressure
    • Sand in straight lines, not circles
    • Keep surface very wet
    • Stop when surface feels glass-smooth
    • Apply polishing compound with microfiber towel
    • Buff to high gloss

Common Aerosol Spray Mistakes to Avoid

Aerosol Spray Can Vs Touch Up Pen Vs Touch Up Brush

Understanding when to use each applicator ensures the best repair results.
Touch-up tool comparison
Feature Aerosol Spray Can Touch Up Brush Touch Up Pen
Best For Large scratches, panels 6+ inches Scratches smaller than a quarter Chips and nicks under ¼ inch
Application Style Spraying motion with sweeping passes Brushing/painting motion Dabbing motion
Coverage 3-8 square feet per can 20-30 scratches 20-30 small chips
Ideal Damage Type Panel repairs, bumpers, large areas Linear scratches, scuffs, small areas Rock chips, door dings, pinpoint damage
Skill Level Intermediate/Beginner Beginner-friendly Beginner-friendly
Application Time 1-2 hours + 48-72hr cure 30-60 minutes + 48hr cure 30-60 minutes + 48hr cure
Finish Quality Body-shop-quality, seamless Professional with good technique Professional for small areas

Helpful Tips

Common Primer Mistakes To Avoid

Person preparing to paint a vehicle in a clean and well-ventilated workspace

Application Environment

  • Temperature: 60-80°F (15-27°C)
  • Humidity: Below 60%
  • Weather: Dry, overcast day (avoid direct sunlight)
  • Wind: None to minimal
  • Ventilation: Good airflow but no direct wind
  • Surface temperature: Panel should feel neutral, not hot or cold
TouchUpDirect automotive aerosol paint cans in multiple sizes

Aerosol Spray Can Coverage

Coverage per 10 oz Can:
  • Colorcoat: 3-8 square feet with proper technique, color dependent (3-4 coats)
  • Clearcoat: 8-12 square feet with proper technique (3-4 coats)
  • Primer: 8-10 square feet with proper technique (2-3 coats)
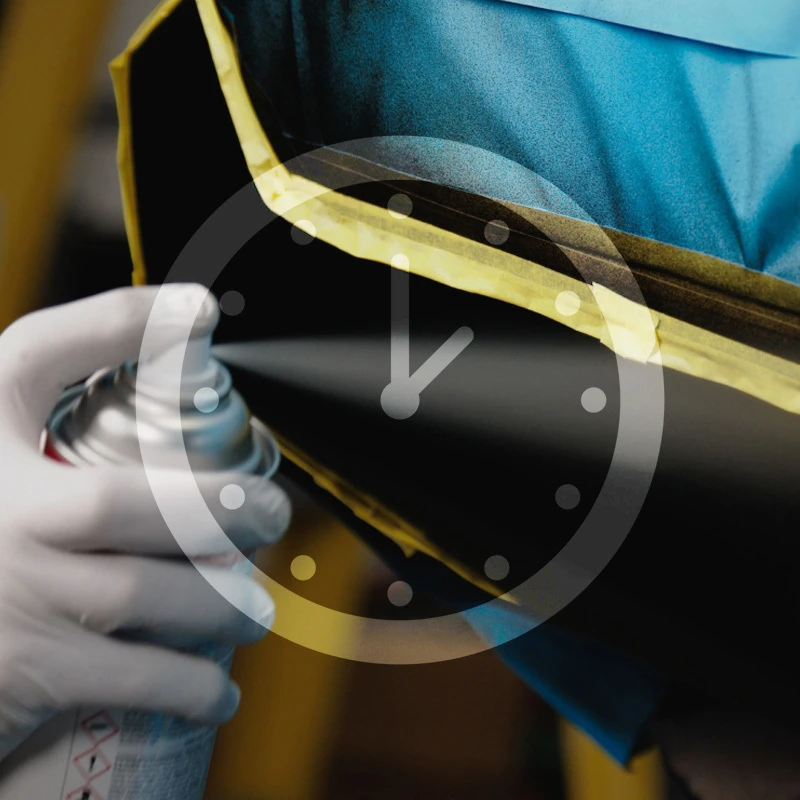
Illustration representing drying time for automotive aerosol paint repairs

How Long Do Aerosol Spray Can Repairs Last?

When applied correctly with proper surface preparation, primer (if needed), and clearcoat, aerosol spray can repairs can last 5+ years — the same longevity as professional body shop work because it's the same professional grade paint.
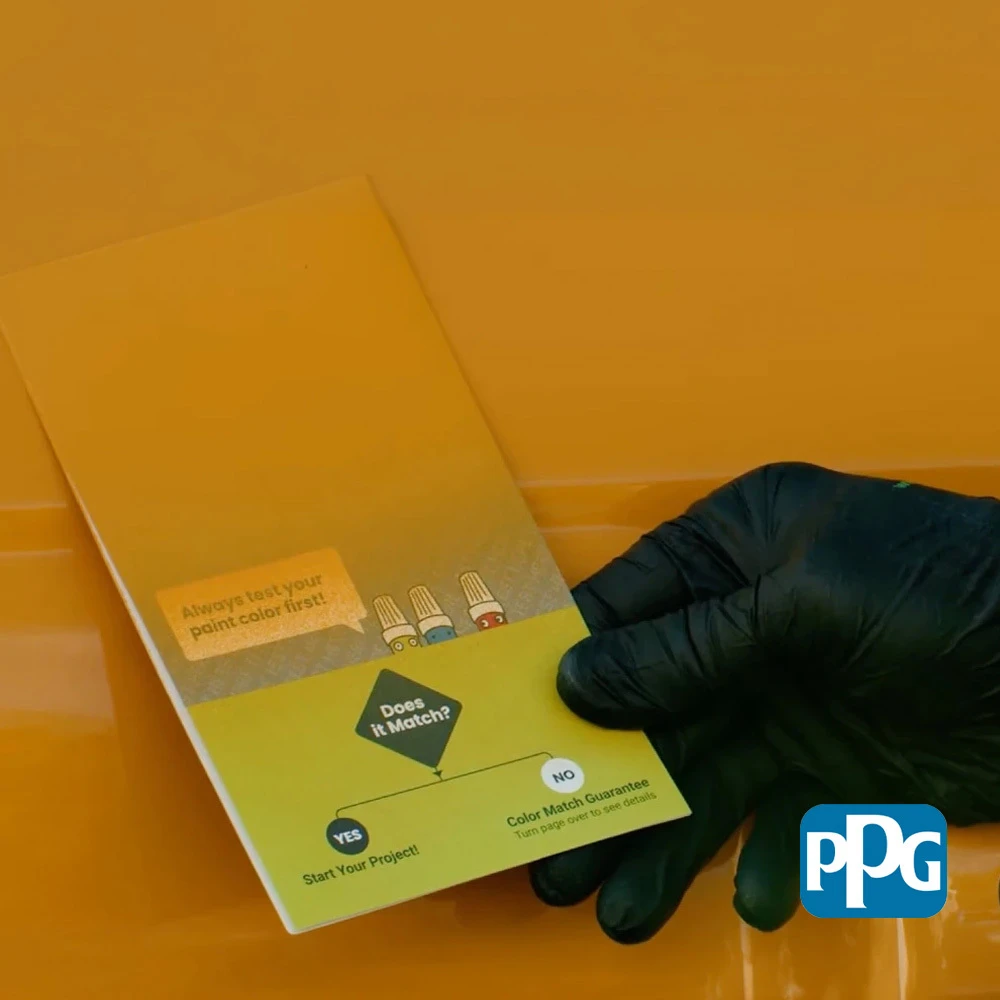
Gloved hand comparing a TouchUpDirect color sample card with a painted panel

Learn more about our Color Match Guarantee

We make every Colorcoat order to match your vehicle's exact OEM paint code. When you provide the correct paint code, our formulas match your factory color 99.7% of the time.

Backed by a name you can trust. We partner with PPG — one of the world's largest and most trusted names in automotive paint — to source the pigments behind every Colorcoat formula. Our team then matches and mixes them to your vehicle's exact factory paint code, so what you're applying isn't a generic "close enough" color, it's built on the same caliber of materials the industry relies on.

For the rare cases where factory paint variations affect the match, we'll work with you to find the right formula—and if we can't get it right, we'll provide a full refund.

Our guarantee covers:
  • Correct paint code entered at checkout
  • Paint applied according to instructions on test card
  • Picture of the test card against your vehicle to show the color difference

Learn more about our Color Match Guarantee

Frequently Asked Questions

  • What size damage can aerosol spray cans fix?

    Aerosol spray cans work best for damage 6 inches or larger—including large scratches, bumper repairs, door panels, and full hood repaints. Each 10 oz can covers 2-4 square feet. For smaller damage (under 6 inches), touch up brush or pen applicators are easier and more cost-effective.

  • How do I know if I need primer with my aerosol spray can?

    You need primer if the damage exposes bare metal or plastic. If you only see colorcoat damage (the scratch hasn't gone through to raw substrate), you don't need primer. When in doubt, choose the Preferred or Platinum kit—both include primer aerosol.

  • How many cans do I need for my repair?

    General guideline: 1 colorcoat can + 1 clearcoat can covers 2-4 square feet (approximately one small-to-medium panel). For larger repairs, estimate your square footage and order accordingly. It's always better to have extra cans than run out mid-project.

  • Can I use aerosol spray cans indoors?

    Only with excellent ventilation—open garage doors, use fans, wear respiratory protection. Aerosol spray creates significant overspray and fumes. For best results and safety, spray outdoors in calm conditions or in a well-ventilated paint booth. Never spray in closed spaces.

  • How long does aerosol paint take to dry?

    Aerosol paint is touch-dry in 15-20 minutes between coats. Wait 30-60 minutes after final colorcoat before applying clearcoat. Allow 48-72 hours for complete cure before washing, waxing, or heavy use. Avoid parking outdoors in weather during cure time.

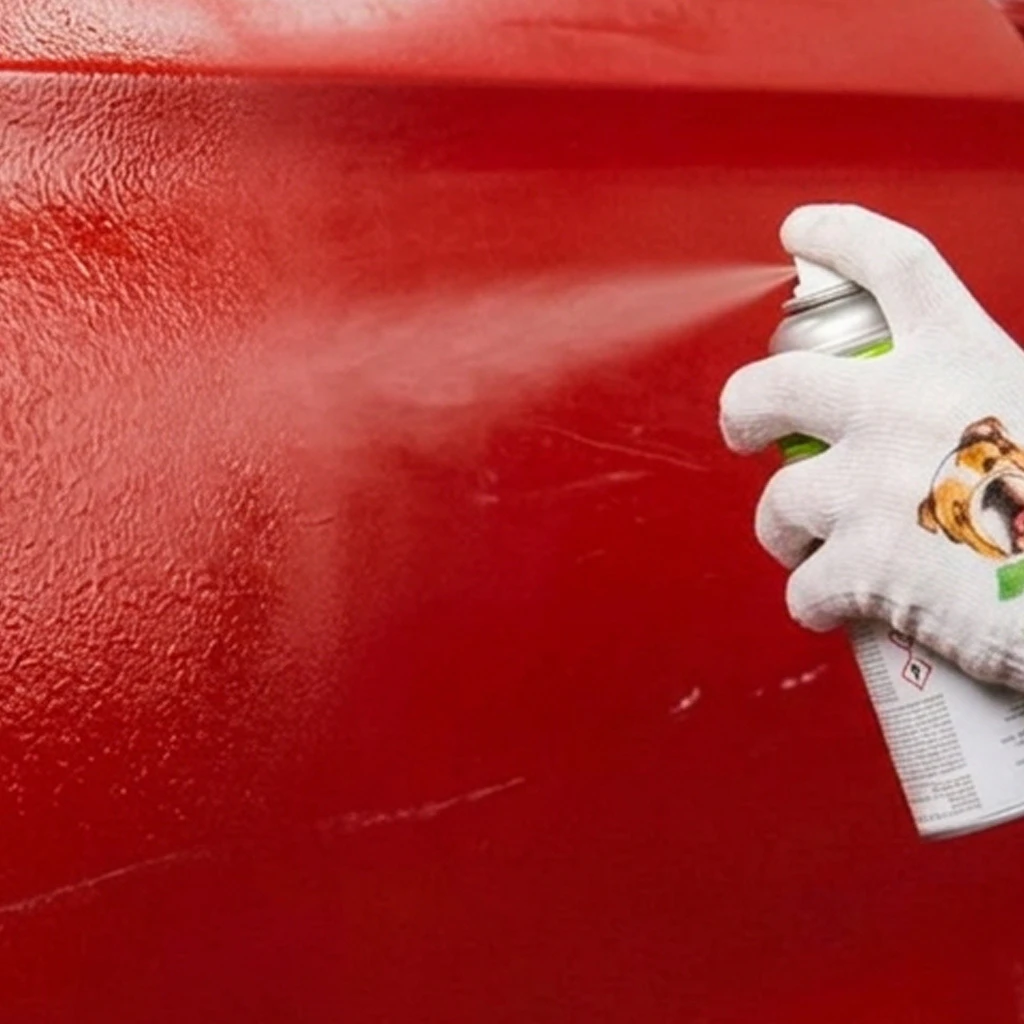
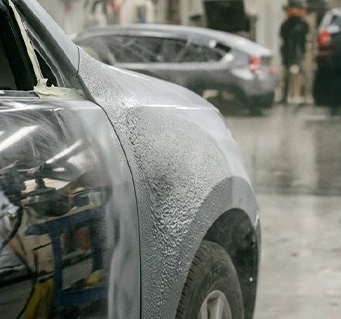
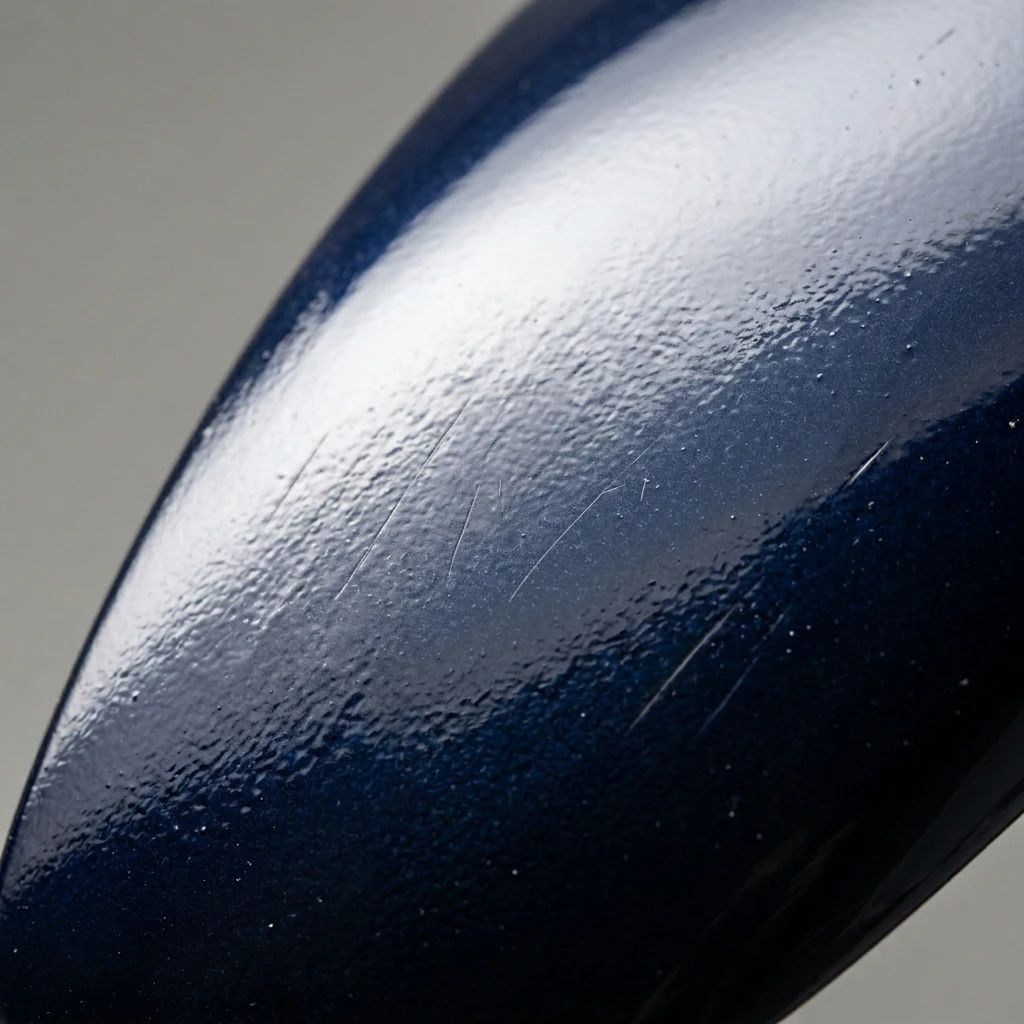
  • Why does my aerosol spray can look textured (orange peel)?

    Orange peel happens when spray droplets don't flow together smoothly. Common causes: spraying too far away (12+ inches), applying coats too dry/light, cold temperature, or high humidity. To fix: wet sand cured paint with 800-grit sandpaper and polish smooth, or spray a wetter final clearcoat at closer distance (10 inches).

  • Do I need to wet sand between aerosol coats?

    No—only wet sand primer before applying colorcoat (optional but recommended), and wet sand final clearcoat for ultimate smoothness (optional for Platinum Kit finishing). Do NOT sand between colorcoat layers or between clearcoat layers—you'll create adhesion problems and texture issues.

  • Can I use aerosol spray cans on plastic bumpers?

    Yes. Aerosol paint works on any automotive surface. For plastic bumpers, always apply primer first (included in Preferred and Platinum kits) to ensure proper adhesion. Plastic requires primer—skipping it will cause paint to peel.

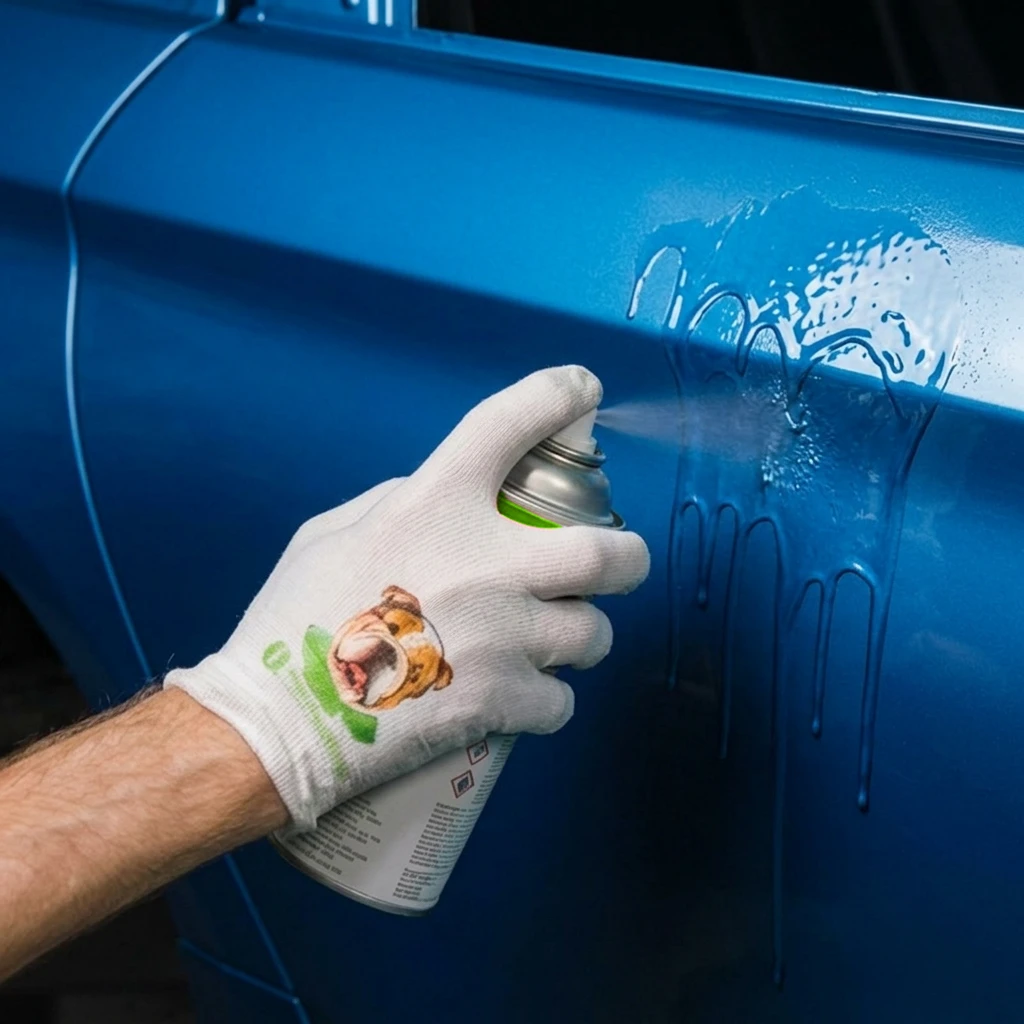
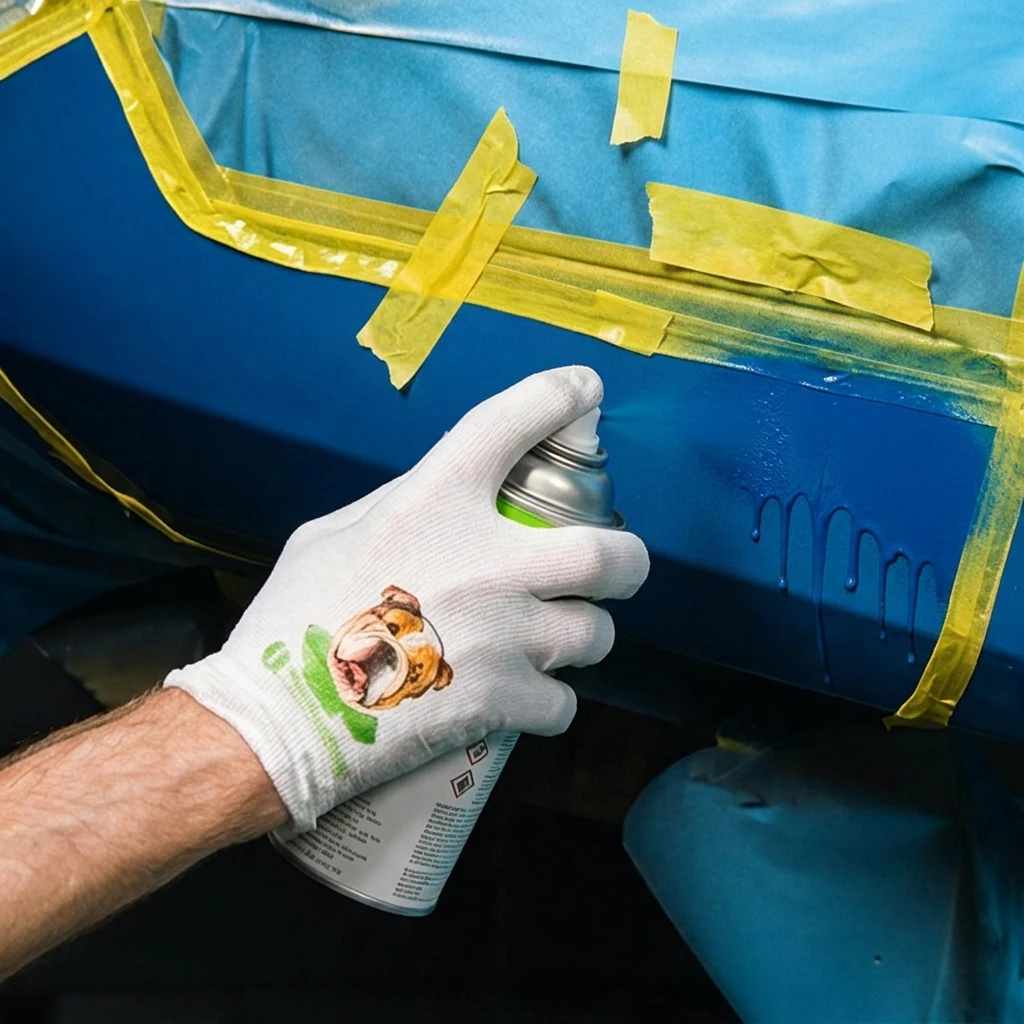
  • How do I prevent runs and drips when spraying?

    Four keys to preventing runs: (1) Keep can 8-12 inches from surface, (2) Apply light coats only—never heavy/wet, (3) Keep can moving at all times—never stop mid-spray, (4) Wait 15-20 minutes between coats. If a run happens, stop immediately, let fully cure 48 hours, sand smooth, and reapply.

  • How do I store aerosol spray cans between uses?

    After each use: turn can upside down and spray 2-3 seconds until only clear propellant comes out—this clears the nozzle. Store upright in cool, dry place (50-80°F) away from heat sources. Properly cleared and stored cans last 6 months after opening, 1 years unopened.

  • What is your return policy?

    We offer a 30-day return policy for all unused items.

  • Can I blend aerosol spray into existing paint?

    Yes—this is one of aerosol's biggest advantages. Feather the edges by sanding surrounding good paint smooth, then extend clearcoat 2-3 inches beyond colorcoat edges. This creates a gradual transition that blends invisibly. For best blending, wet sand and polish the repair after full cure.

  • Will the aerosol spray match my car's faded paint?

    Aerosol paint matches your vehicle's original factory color, not faded paint. If your car's paint has faded significantly from sun exposure, the fresh repair may appear slightly brighter or more vibrant than surrounding aged paint. For best results on faded vehicles, blend the repair by extending clearcoat coverage and polishing.

  • Free Shipping

  • Amazing Customer Support

  • Color Match Guarantee